<body><script type="text/javascript"> function setAttributeOnload(object, attribute, val) { if(window.addEventListener) { window.addEventListener('load', function(){ object[attribute] = val; }, false); } else { window.attachEvent('onload', function(){ object[attribute] = val; }); } } </script> <div id="navbar-iframe-container"></div> <script type="text/javascript" src="https://apis.google.com/js/platform.js"></script> <script type="text/javascript"> gapi.load("gapi.iframes:gapi.iframes.style.bubble", function() { if (gapi.iframes && gapi.iframes.getContext) { gapi.iframes.getContext().openChild({ url: 'https://www.blogger.com/navbar.g?targetBlogID\x3d26144001\x26blogName\x3dMagic+Lens+-+Extra+Page\x26publishMode\x3dPUBLISH_MODE_BLOGSPOT\x26navbarType\x3dBLUE\x26layoutType\x3dCLASSIC\x26searchRoot\x3dhttps://mlpsp.blogspot.com/search\x26blogLocale\x3den_US\x26v\x3d2\x26homepageUrl\x3dhttp://mlpsp.blogspot.com/\x26vt\x3d3262821326789806059', where: document.getElementById("navbar-iframe-container"), id: "navbar-iframe" }); } }); </script>

Friday, April 14, 2006

PSP Tutorial: Colorizing an Image


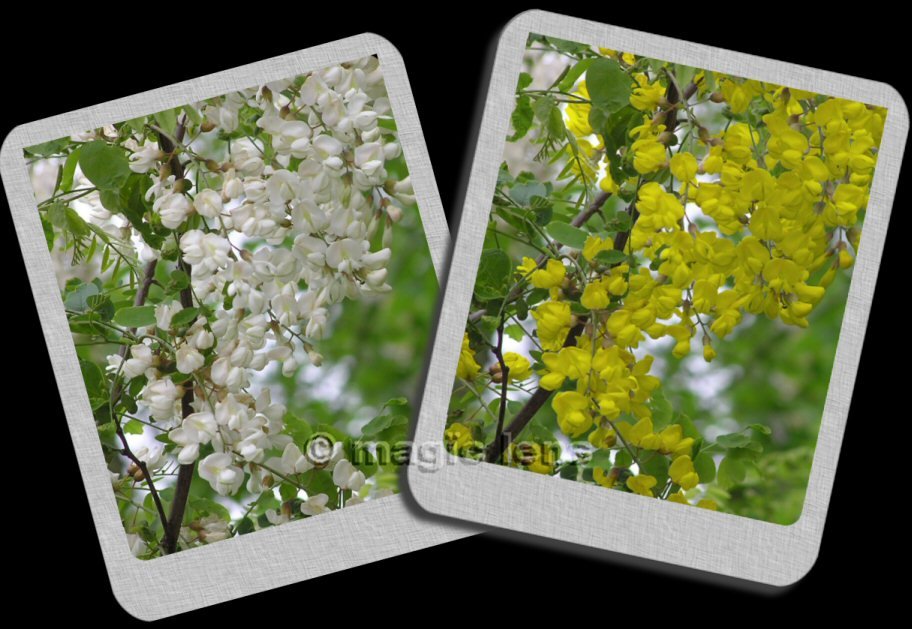
Here's something i learned today, thanks to my Photoshop/Paintshop Guru. I thought i'll share the same with the visitors of my blog, try this out if you are interested and ONLY if you have the time and patience to do the same...This might look easy but trust me it takes hours to get the desired result.


Steps to create this effect using Paint Shop Pro 8

1. Open the image which needs to be colorized into one of the raster layers(Raster1).
2. Create a new raster layer(Raster2) and set the blend mode to Color(Legacy)/Multiply according to your preference.
3. Highlight the Raster2.
4. Choose a preferred color and flood fill the Raster2 layer using the Flood Fill Tool.
5. Now erase the unwanted portion of the Raster2 layer.
6. Save the changes.